Learn how to repot an orchid correctly for best growth and bloom.
Our printable guide and video show you all the necessary steps and discusses the proper potting mix, watering and pots orchids need to thrive.
See our printable Orchid Care Guide to keep your orchids well maintained, happy and blooming after repotting.


When to Repot Orchids:
According to the American Orchid Society orchids need repotting when the orchid pot exhausts the potting soil nutrients and/or the orchid has outgrown its pot. You’ll see roots growing over the side of the pot.
Good quality orchid potting mix will support an orchid about two years before breaking down.
If you have a transparent plastic pot you can see the roots of the orchid. As you can see pictured below some of these roots are starting to grow up over the pot top.
This is the original pot for this orchid at two years old.
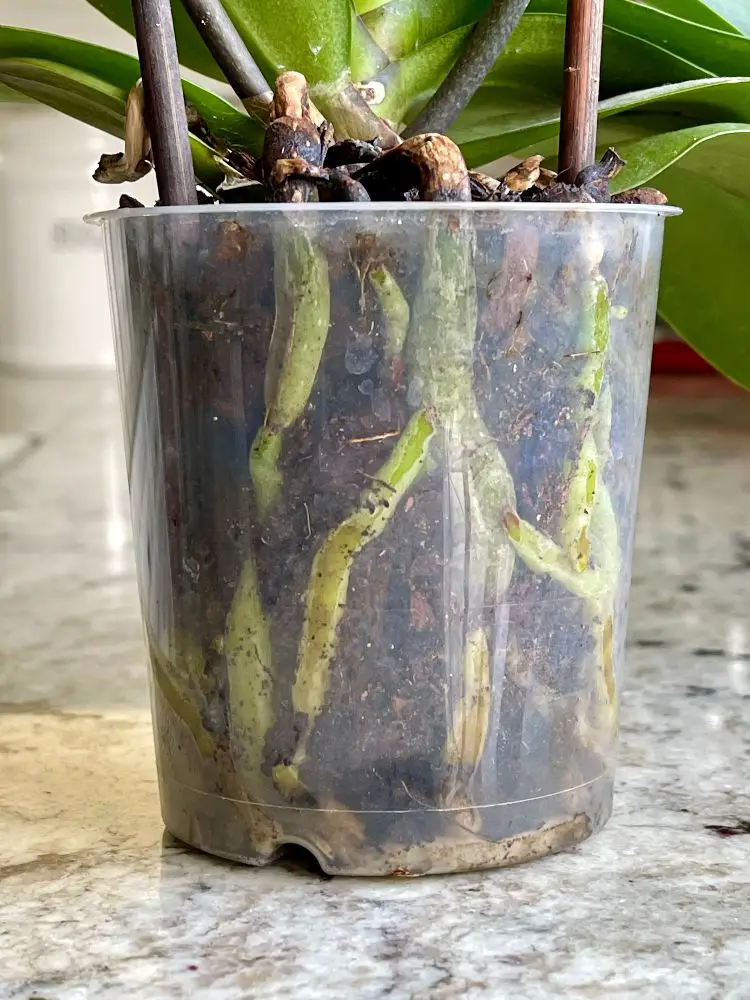
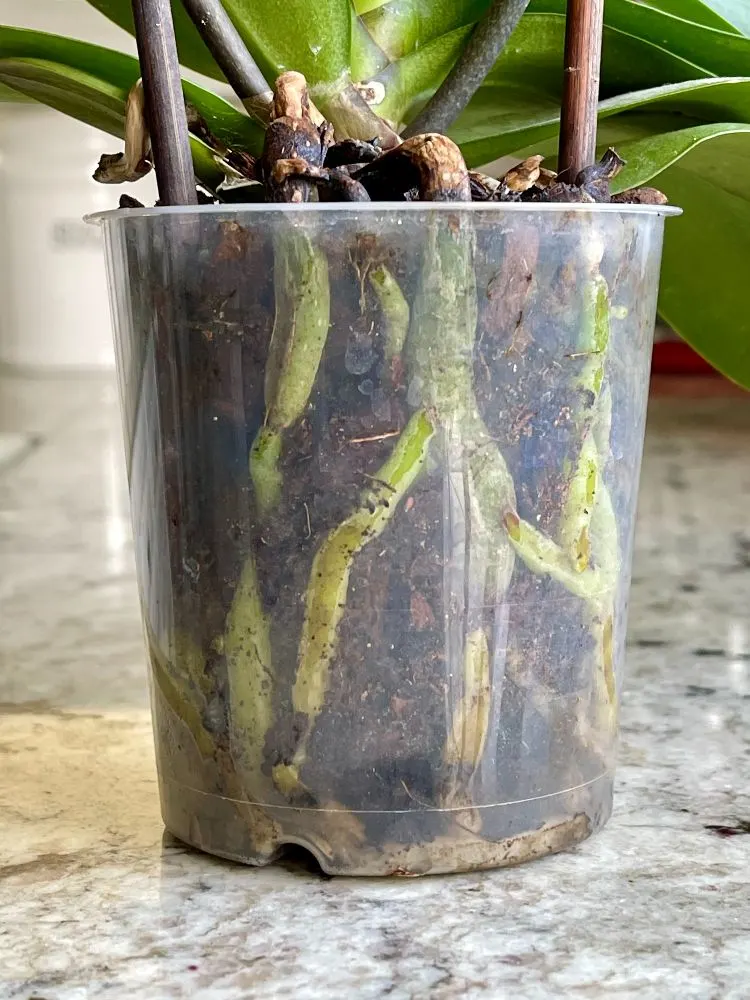
This orchid is still in pretty good shape. However, some of the roots were rotting due to poor watering practices. The potting mix is old and needs replacing.
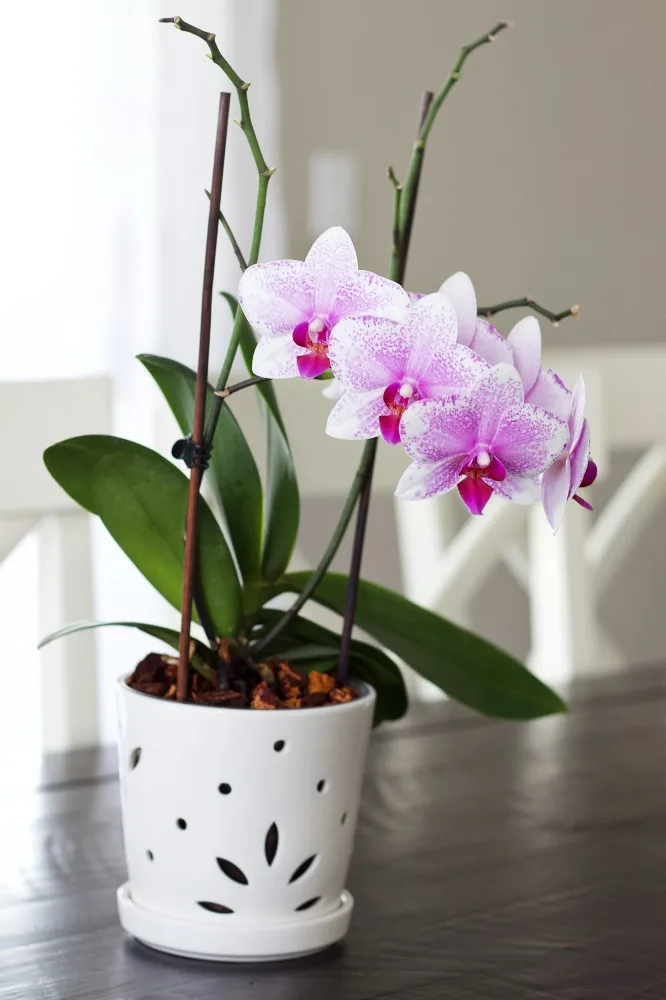
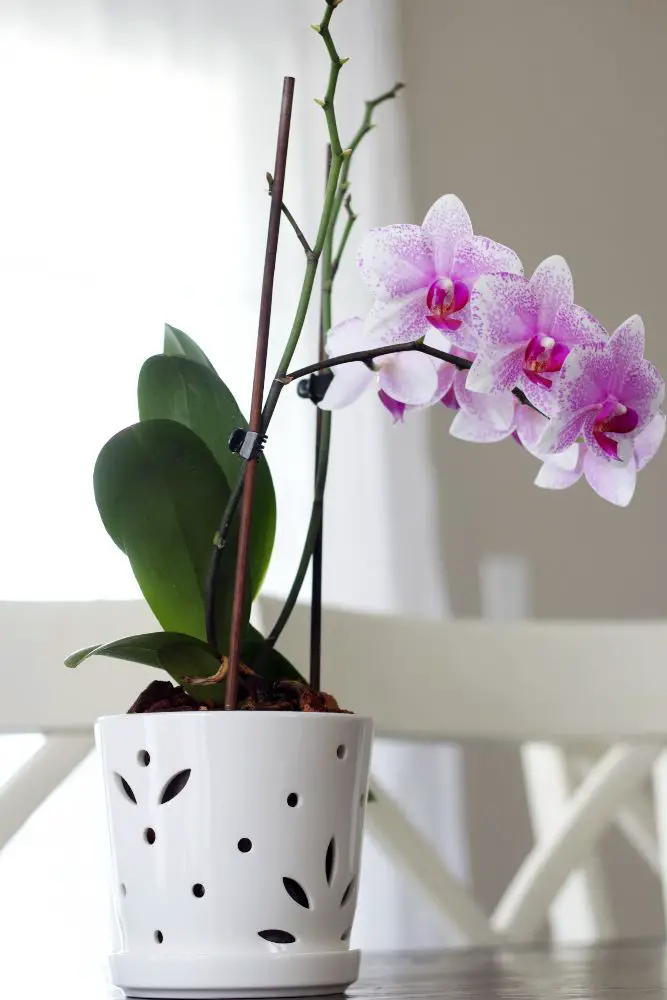
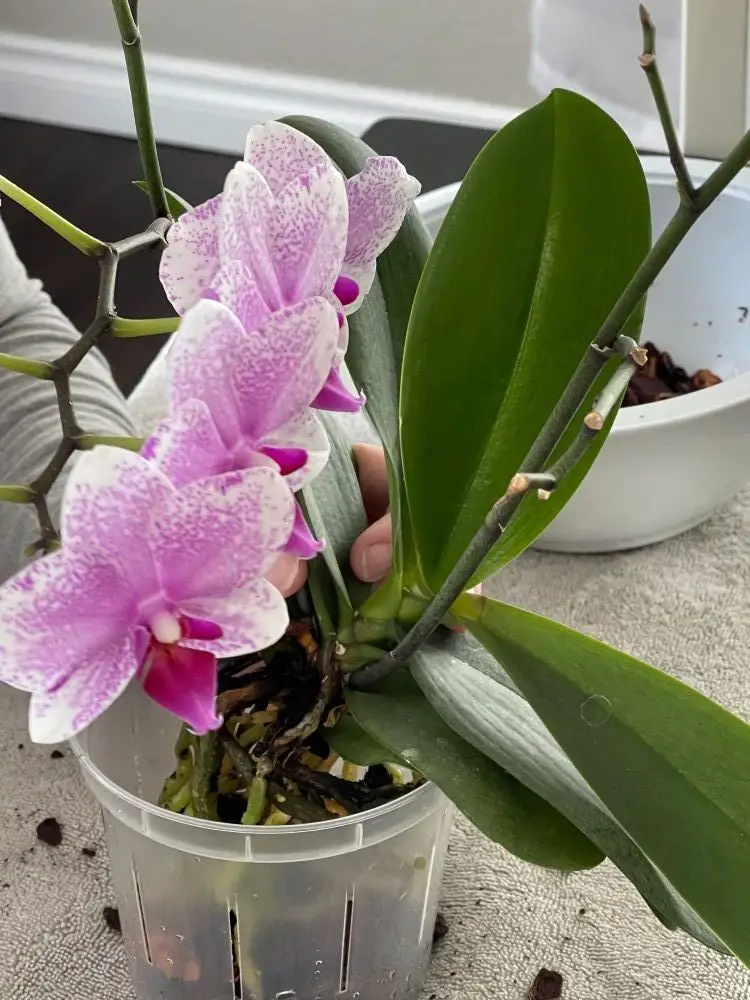
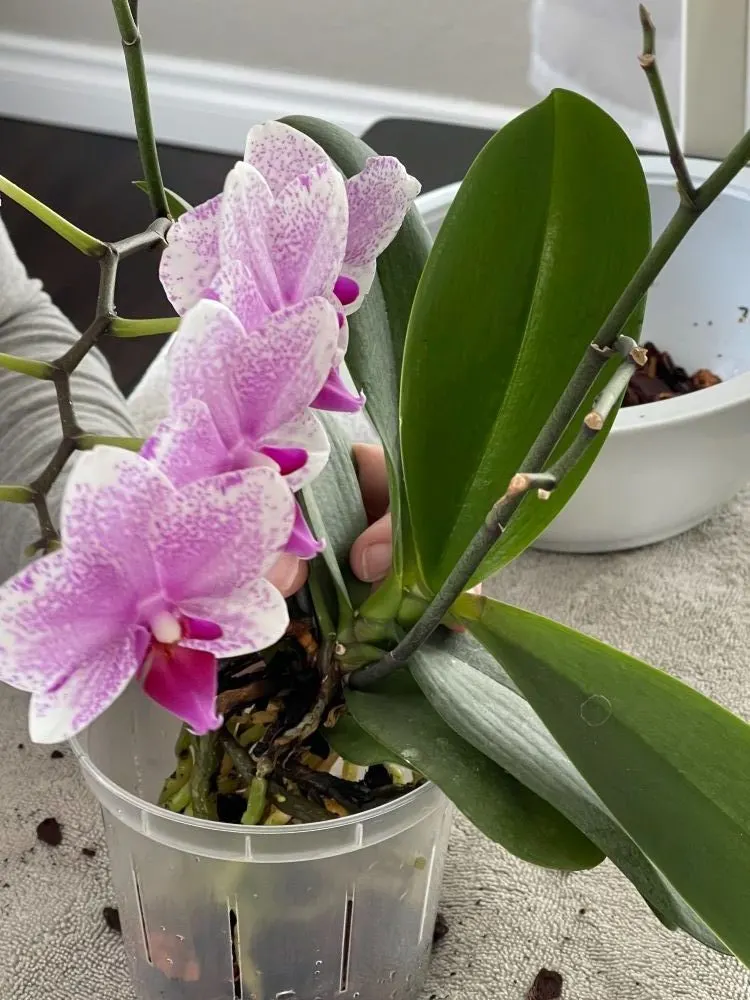
Repotting a healthy orchid is very simple and will have good results. This Phalaenopsis Orchid sat in this tiny pot for two years.
Purchase Orchid Potting Supplies on Etsy

Fortunately, It was planted in a bark based potting medium rather than moss. Moss tends to cause root rot in orchids since it does not allow the roots adequate ventilation.
You can successfully grow an orchid in moss but not easily. it’s critical NOT to over water an orchid. Moss holds a lot of water and does not allow air flow around the orchids roots.
If you have an orchid potted in a heavy sphagnum moss mix we suggest you pot it into a good bark Orchid potting media.

We repotted this phalaenopsis with the blooms on since some of the roots were stressed.
But the blooms, now three months old and still lovely, were so pretty and we didn’t want to lose them if possible.
Wait for the blooms to fall off before repotting an orchid. Normally you repot in a rest period between blooming.
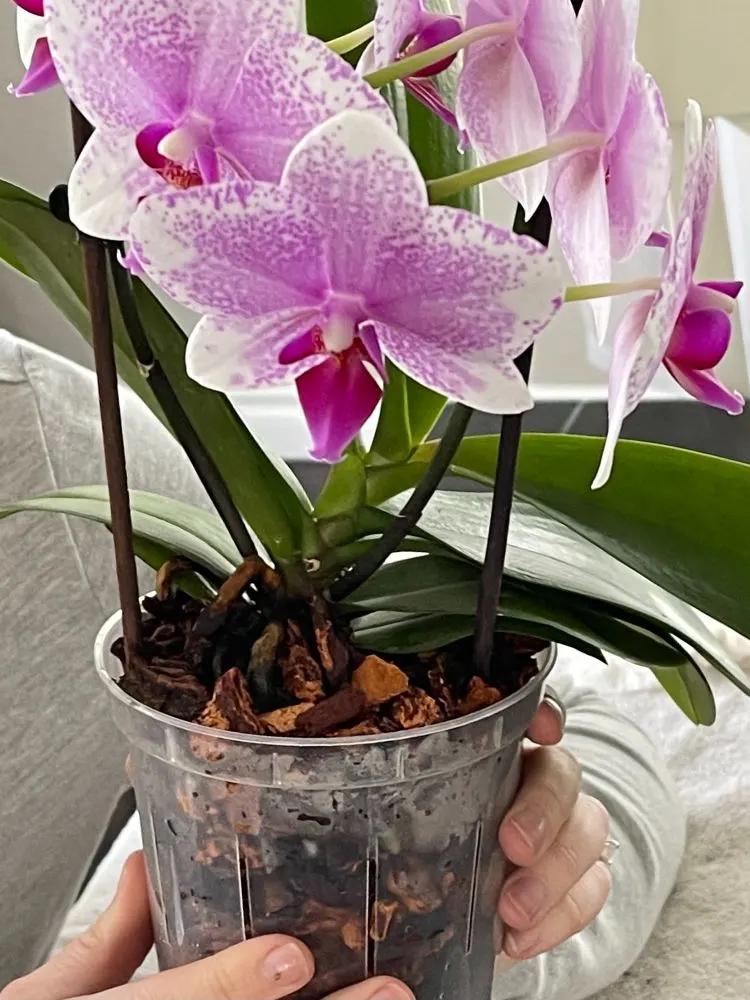
We took the chance of losing the blooms. The blooms are still beautiful and fresh looking a full month after our repot.
We don’t recommend you repot with the blooms on. Unless you feel, as we did, the orchid plant is stressed and needs a new pot right now. You may lose your blooms prematurely if the plant is stressed further in the repotting process.
70 percent of Orchids are epiphytes like this moth orchid. These types of orchids are really good at surviving with little to no soil since they climb trees in the wild and live off the soil composted into the nooks and crannies of the tree bark.
It is important to reproduce the natural environment as much as possible in the new pot.
Epiphytes Orchids absorb a good deal of water out of the humidity in the air. Orchid roots are designed to grow with lots of air around them.
Printable Guide: How to Repot An Orchid Plant
This is a complete step by step instruction list of how to pot an orchid in a new pot. If you print out this guide the pictures will not print. That is to save you paper and ink.
At the bottom of this guide is our demonstration video on how to pot an orchid in a new pot. Please comment below to ask your questions or give us feed back. We love to plant chat.
How to Repot an Orchid


Orchids need repotting occasionally to thrive. Learn the basic steps in this guide about how to repot an orchid successfully.
Materials
- Orchid bark
- Orchid potting mix
- Bleach-to sterilize tools
- large pot to boil water
Instructions
Soil Preference:
- Orchids prefer well draining Orchid potting mix. The roots will rot quickly if they sit in moist heavy soil.
- Orchids need Orchid potting mix. linked in materials above.
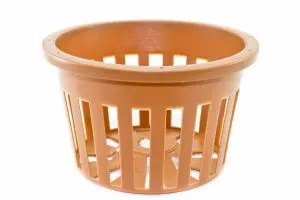
Pot Size and Type:
- Orchids do best in orchid pots. These are designed to allow the orchid roots to breathe.

- This orchid is potted in a plastic orchid pot with slits in it. It sits in a pretty orchid cover pot with lots of good drainage.
- Repot every second year or when roots come out of the pot. Don't jump to a huge pot from a small one. Just go to the next size up pot.
Preparing to Repot an Orchid:
- Gather your supplies.
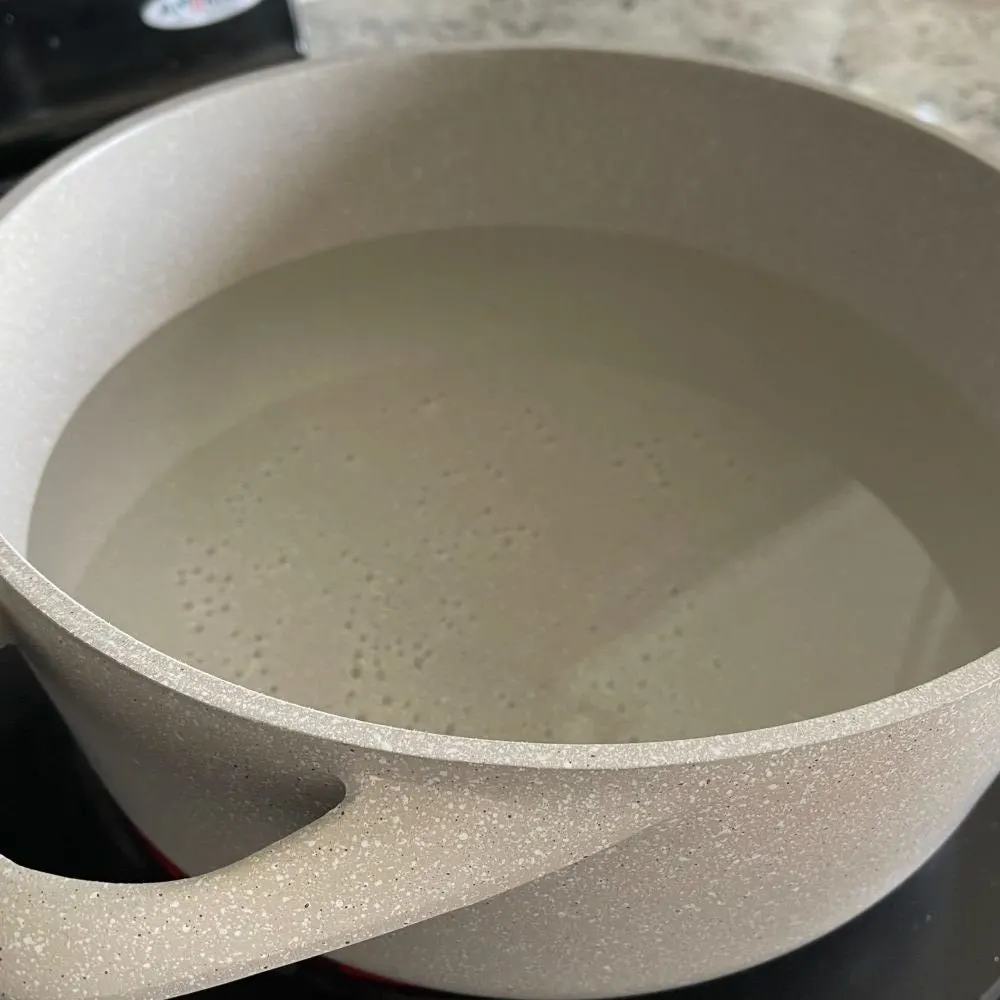
- Fill the large pot with water and set it to boil.

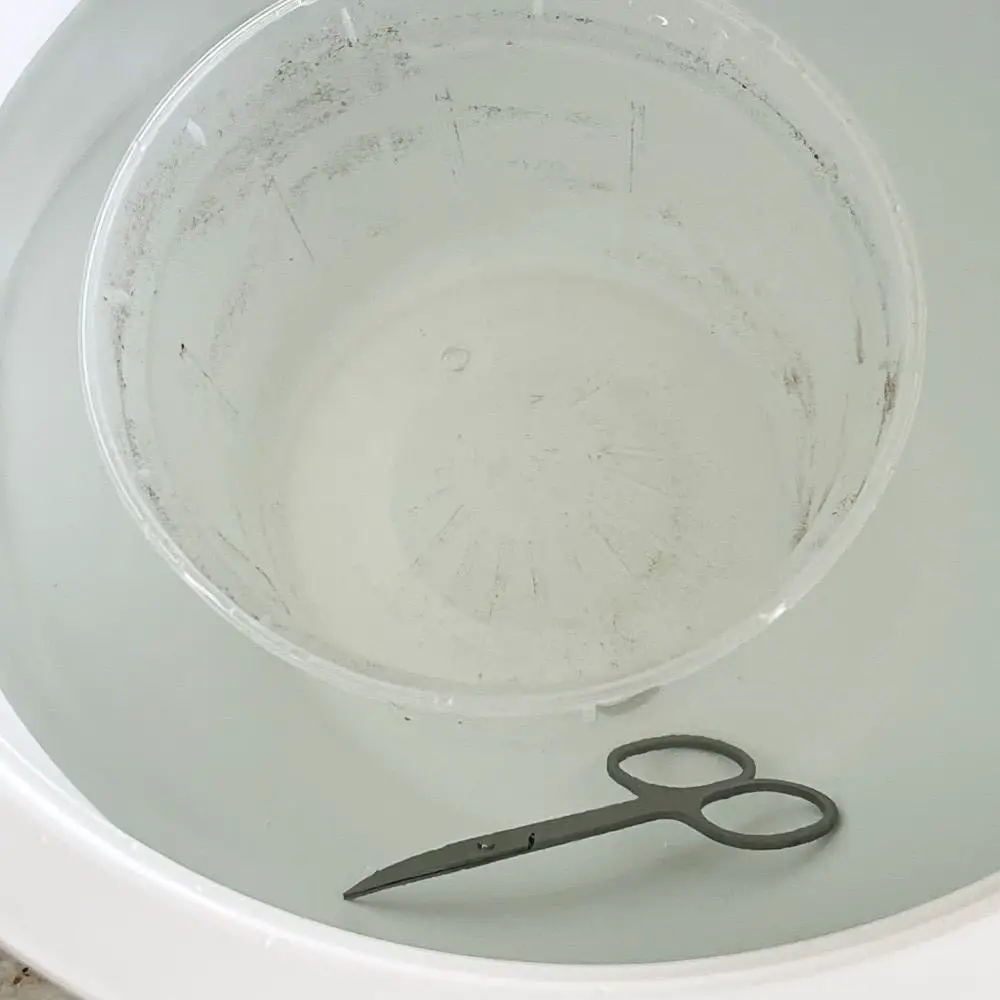
- Bleach the new orchid pot and utensils needed..

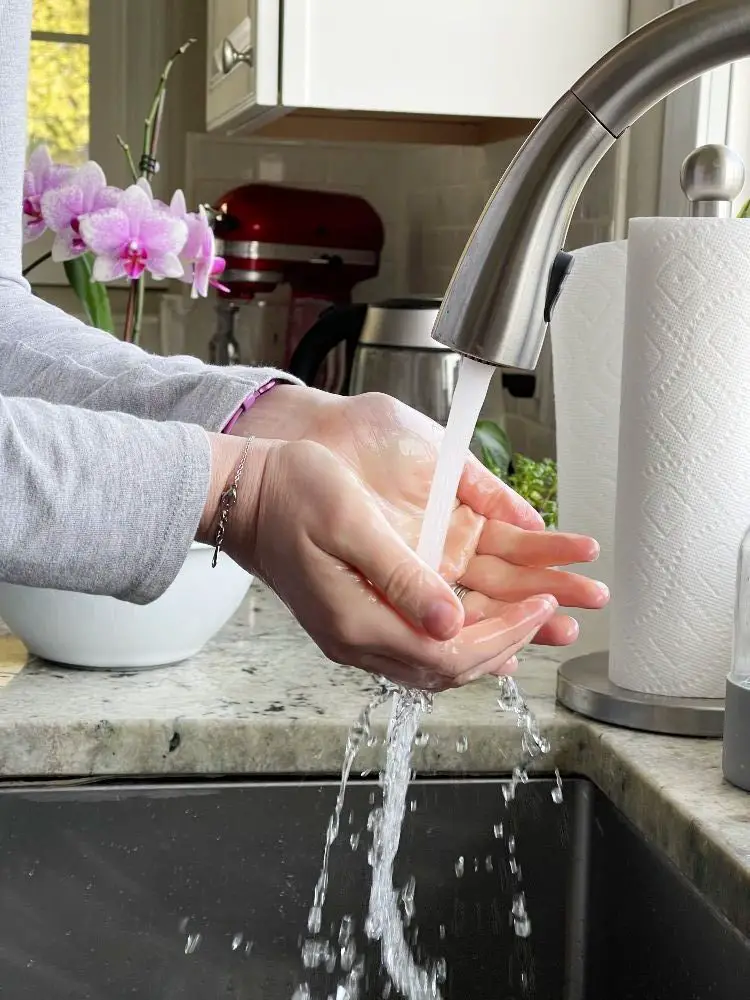
- Wash your hands.
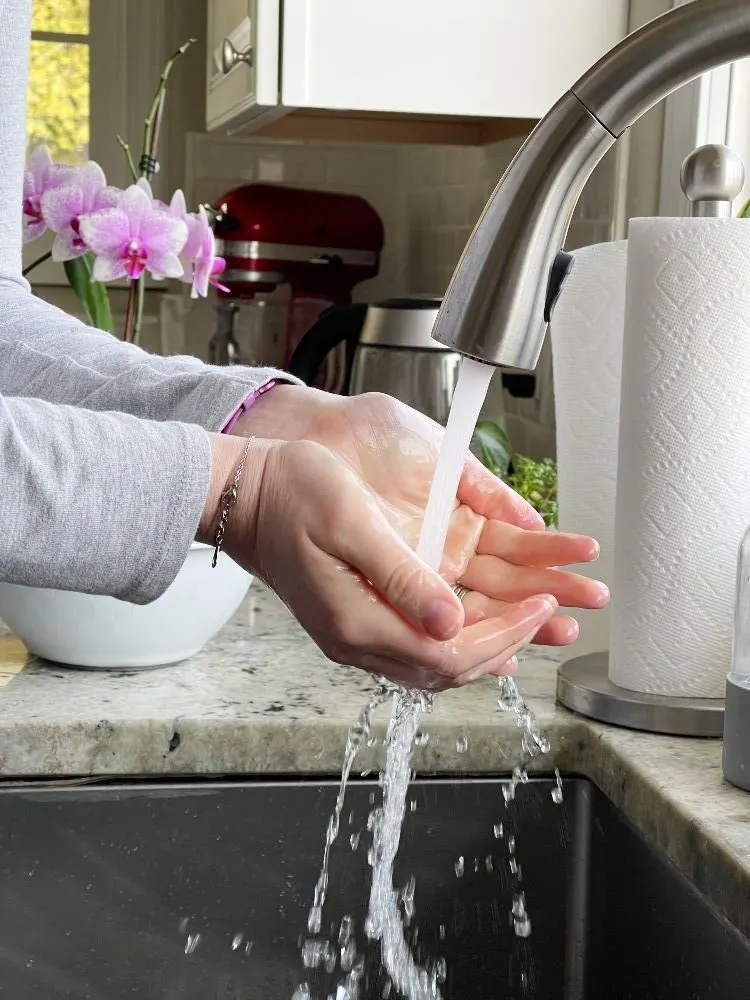
- Once the water has boiled a full minute remove from heat.
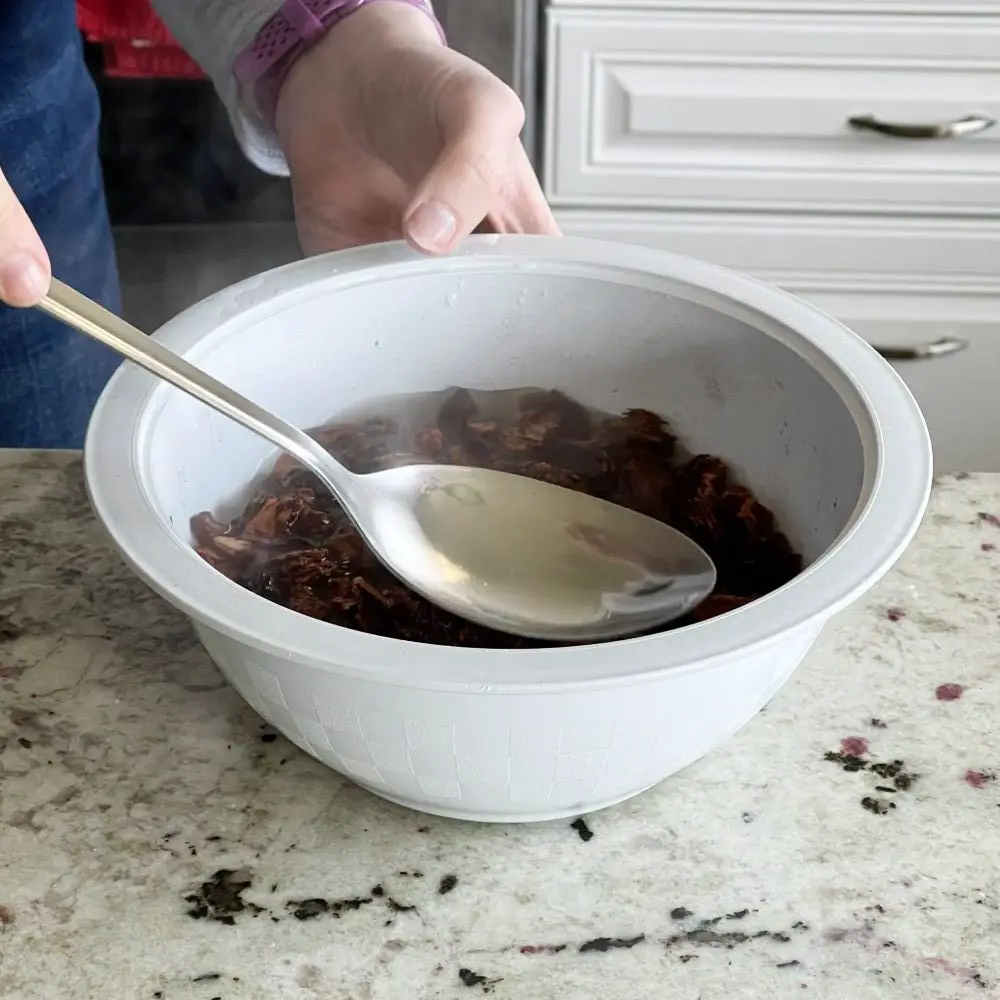
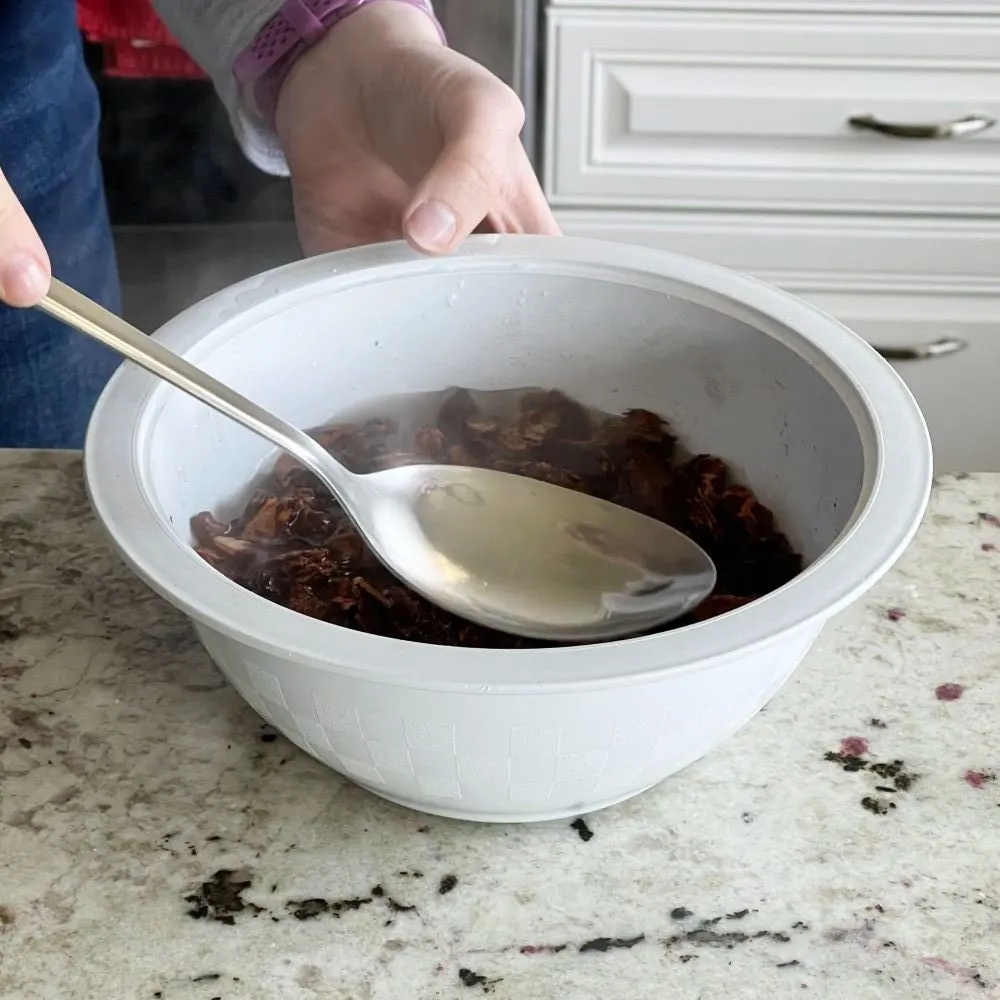
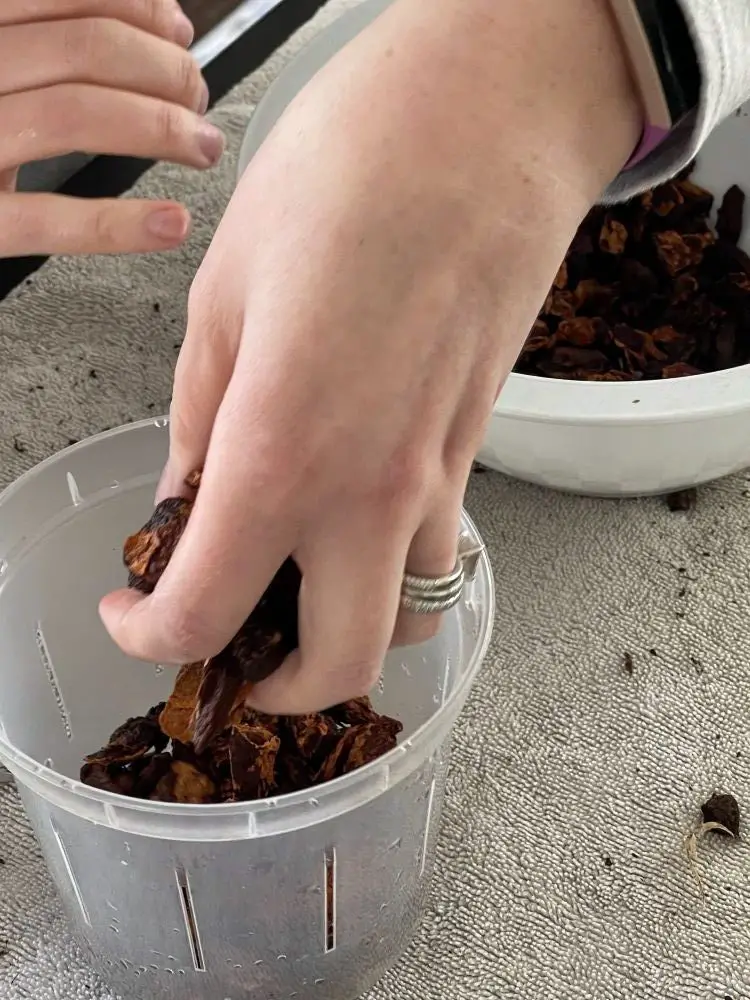
- Set the new orchid potting mix into a medium bowl.
- Pour the boiling water over the orchid bark mix and let it soak. Set aside and cool to room temperature until needed.
UnPot your Orchid and trim roots:
- Start by unclipping the orchid stems from the stakes.
- Remove the stakes from the old orchid pot
- Set out the new orchid mix, new pot and a pot to recieve the old mix.

- Gently un-pot your orchid. If the orchid is very root bound Gently Squeeze the sides of the pot to encourage the roots to release.
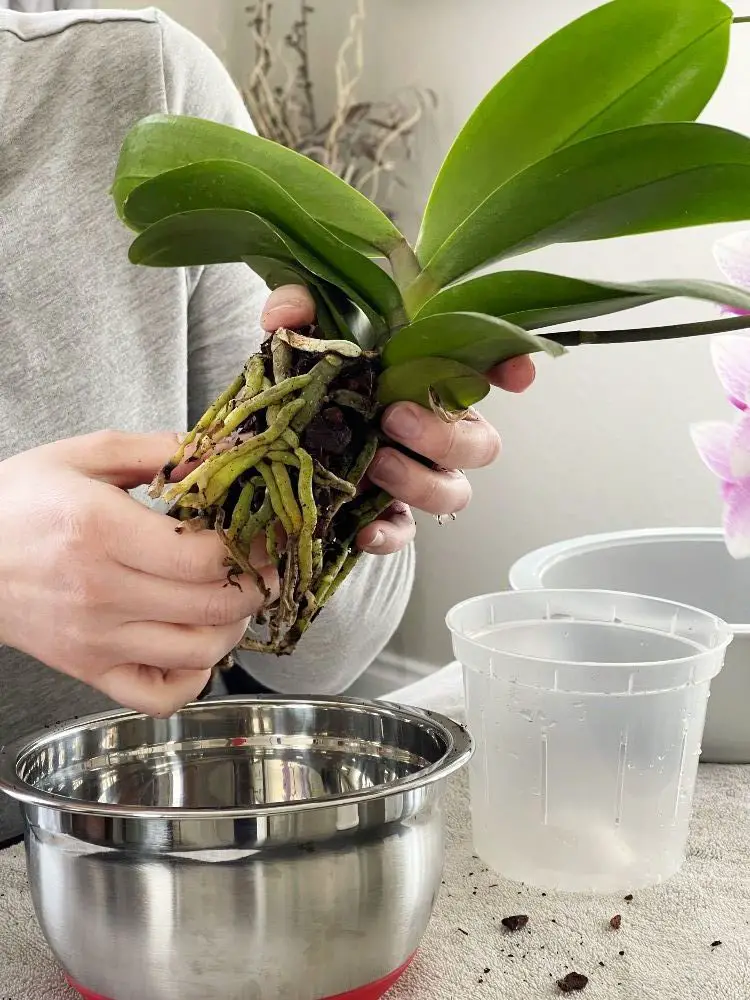

- Carefully remove the old potting mix from around the orchid roots. Use the tweezers or your fingers to clean out the old bits from deep in the roots.
- Examine the roots. Look for rotted roots (watch the video to see root rot).
- Trim off the dead rotted roots with your sterilized pruner or scissors.
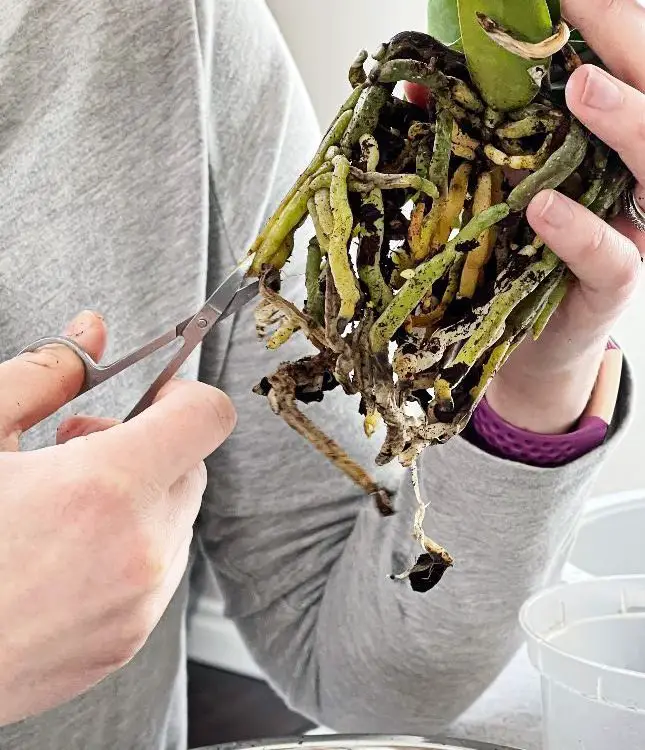

- Make sure you get all the dead squishy roots removed.
Wash the orchid roots to get ALL the old mix out and make sure all rot is cut off all the roots. 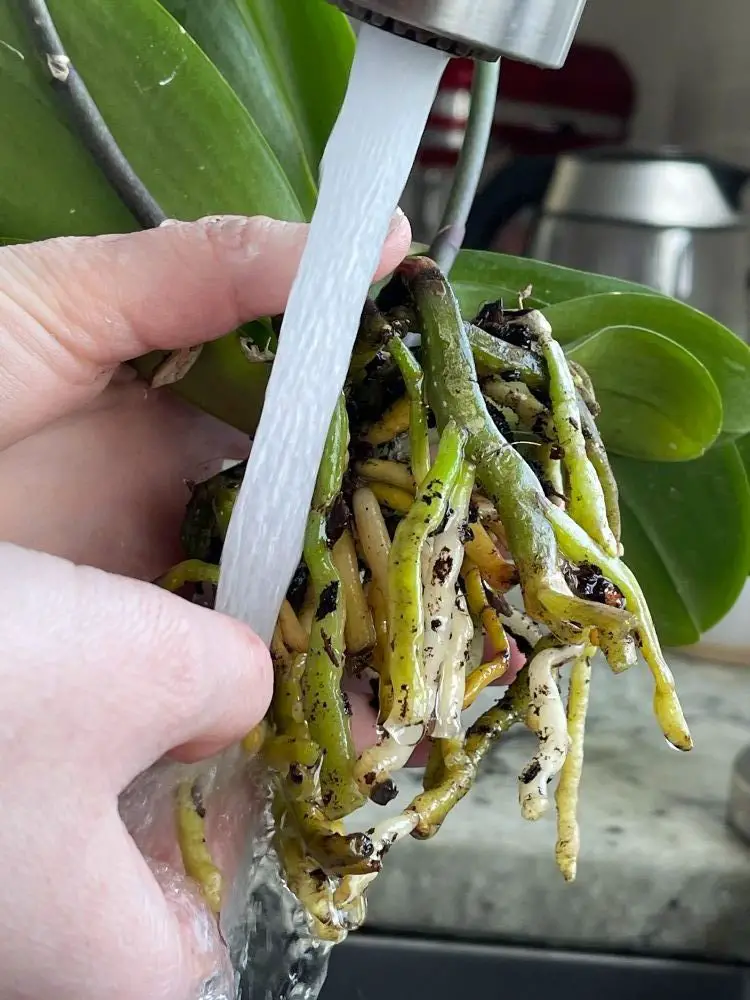

Repotting your Orchid:
- Fill the bottom of the orchid pot and inch or so deep with the new sterile potting mix.

- Hold the orchid in the pot with one hand. With your other hand place the new bark mix carefully around the orchid roots. (watch the video to see Kayti do this)
- Continue placing the bark mix in and around the orchid roots until the plant is well supported with no huge gaps.
- At about halfway up the pot Place the sterilized stakes into the pot to support the orchid stems if needed.

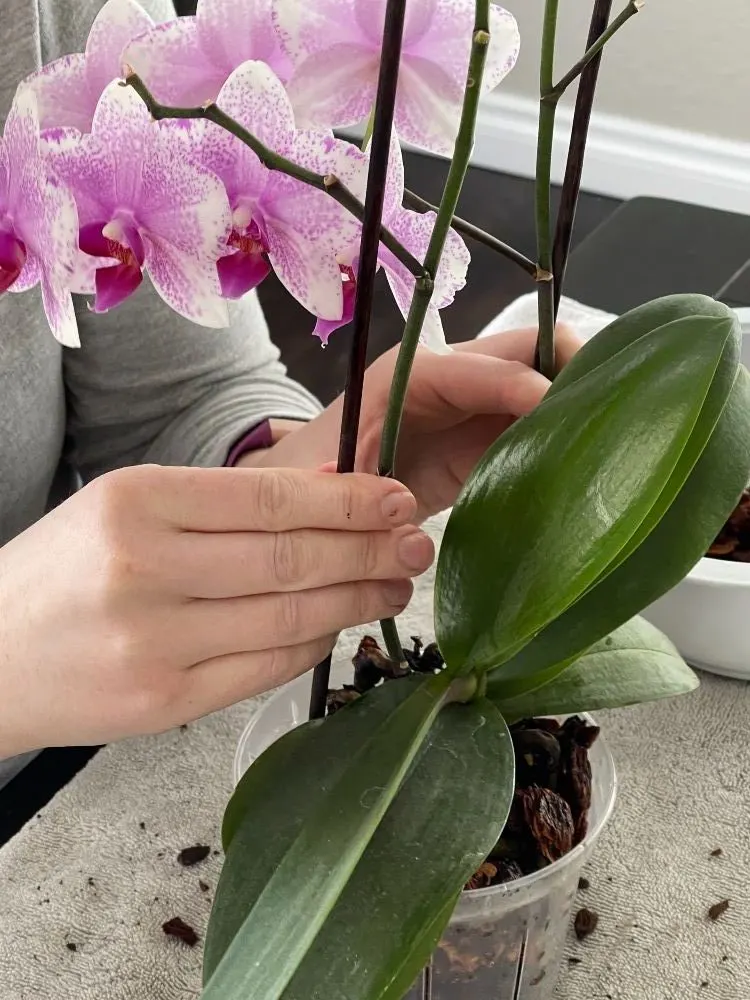
- Clip the stems to the stakes as necessary.
- keep adding bark until you reach the top of the pot.


- Check to make sure you have the roots well supported with no gaps.

- The crown of the orchid should be sitting at the top of the pot. (watch video)
Final touch:
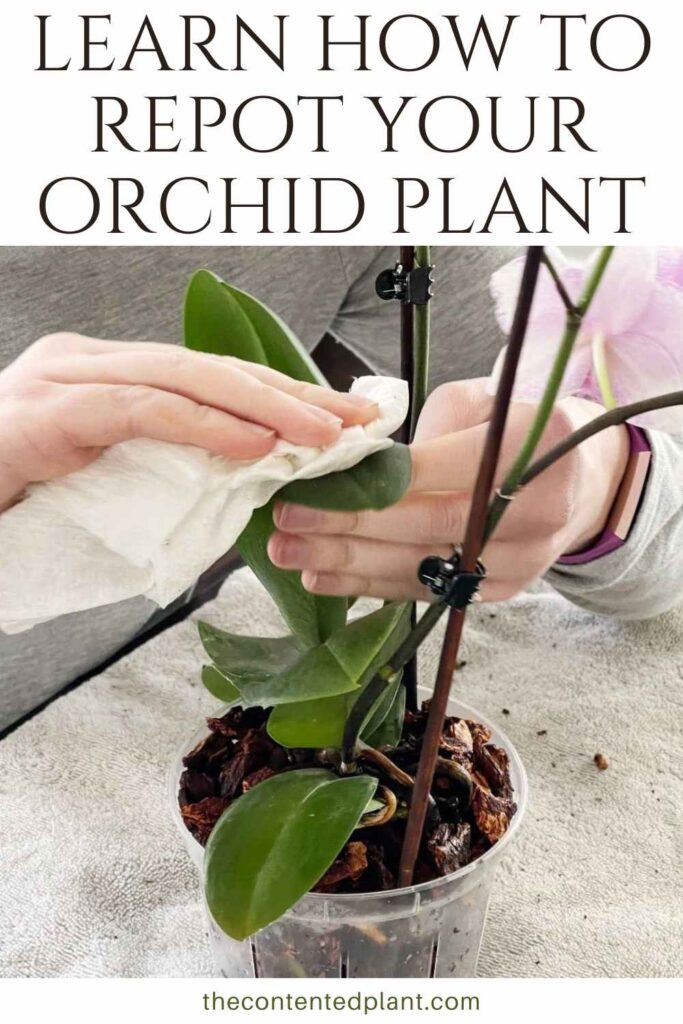
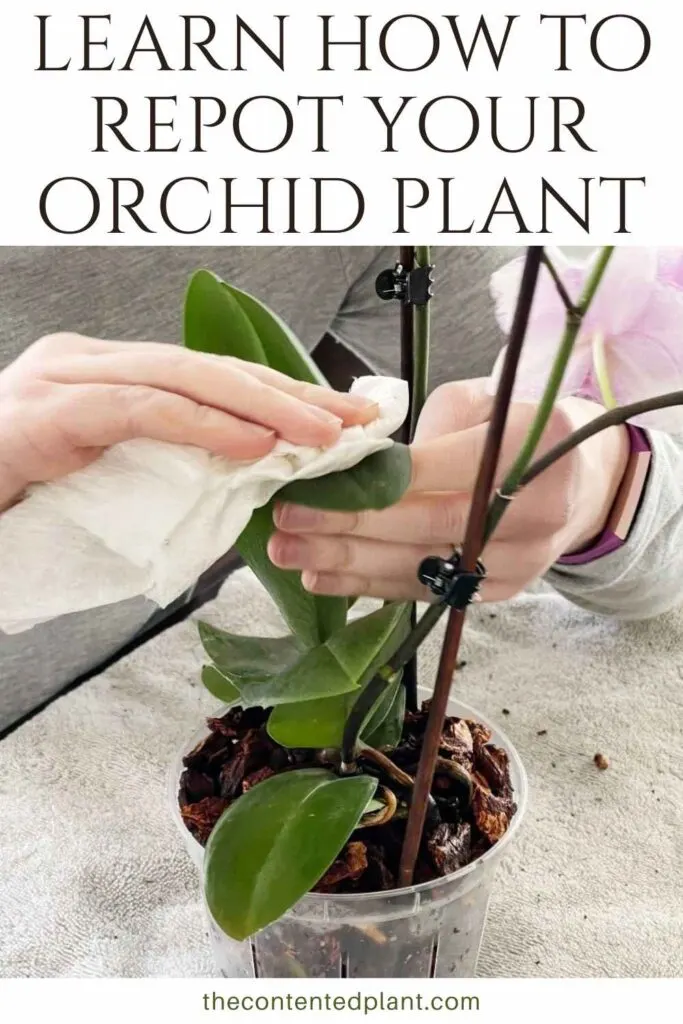
Wash the orchid leaves on top and bottom. This helps the plants with photosynthesis, hydration and respiration through the leaves while the roots recover. 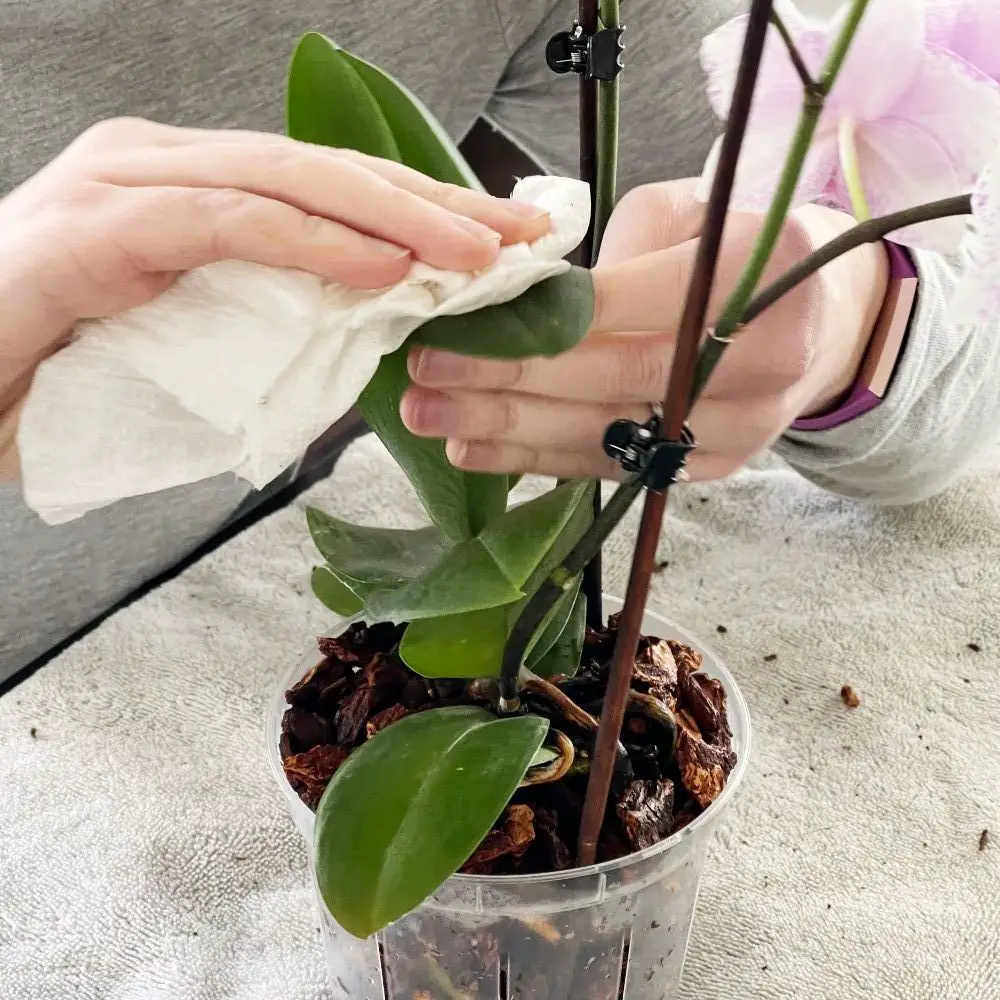

Also Examine the leaves for any signs of pests and take action now to eliminate them if you find any.
For more on Orchid care Read our Orchid Care Guide.
Notes
Watch Our video below to see Kayti repot an orchid
Signs That Your Houseplant Needs to be Repotted - The Contented Plant
Sunday 14th of January 2024
[…] Some plants require more specific needs like we discuss in how to repot an orchid successfully […]
LECA Pots -Best Pots For Semi Hydroponics - The Contented Plant
Saturday 16th of July 2022
[…] Beginners guide to Orchids […]
Best Orchid Pots for Healthy Growth - The Contented Plant
Friday 6th of May 2022
[…] Complete Guide To Repotting your Orchid successfully will take you through every step of planting your plant in its new Orchid […]
Orchid Root Rot - The Contented Plant
Tuesday 26th of April 2022
[…] For more details on repotting and orchid Read our post on how to repot an orchid successfully […]
Best Succulent Soil Mix - The Contented Plant
Wednesday 2nd of February 2022
[…] How to Repot An Orchid Successfully […]